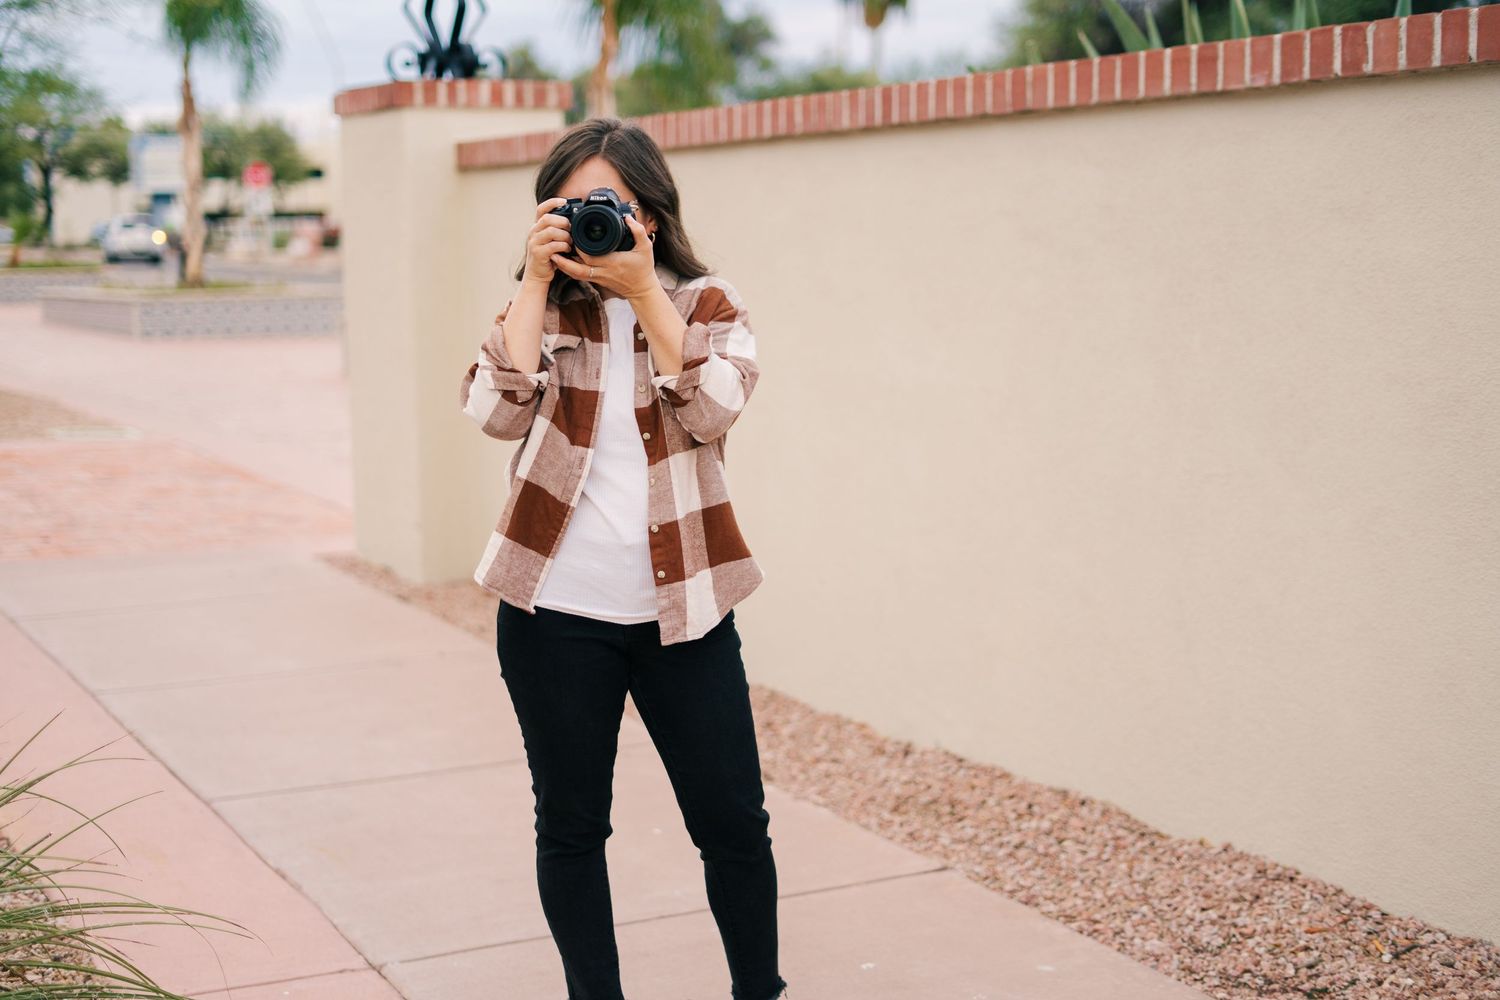
So you want to become a photographer, but you have no idea what you're doing? Where do you start? Well today, I'm here to share a few basic steps with you. I promise, it's not that hard. You will have to invest just a little bit up front (because you need a camera), but otherwise, the sky is the limit. Let's get into it!
1 - Get a camera (and a lens)
This is the obvious first step - get a camera! If you can't afford one yet, or don't know which one to get (I started with a DSLR and now shoot mirrorless), start by borrowing one from a friend or renting one just to learn the basics. When you're ready to make a purchase, you can always buy one used! Check out KEH Camera for high qualilty used gear (not sponsored, but I've bought from them before and highly recommend).
Most cameras come with what's called a kit lens. If you want to just focus on the basics, a kit lens is fine to begin with, but your next investment should be a prime lens. (This is a lens that doesn't zoom in or out but has a fixed focal length.) A prime lens will immediately up your image quality, even if you get the cheapest one - I recommend a "nifty 50" fifty millimeter lens. Usually these are around $200 for a 50mm 1.8, which is actually very affordable in the world of camera lenses. Try to find one used for even less. (Also, if you don't understand any of this number mumbo jumbo, it's okay. You'll learn!)
2 - Learn manual mode
Manual mode is what sets a professional photographer apart from an amateur. Instead of relying on the camera to guess the settings for you (this would be using any of the auto modes, including shutter priority or aperature priority), it's important to learn how to manually set up your shots by understanding what each of the camera settings does. This means you have to get familiar with aperature, shutter speed, and ISO.
For a total beginner, this might sound like the most daunting task of all! But the truth is, we live in the information age. Everything you could ever want to learn about photography is available for free on the internet! Go on YouTube and search "how to shoot in manual mode." Start there, and start your photography education. There's so much information to soak up on there!
If you have the means, you can even sign up for a class. This could be online, at a local community college, or even a workshop hosted by a local photographer. When I started out in 2012, I took a workshop taught by a local photographer who ended up becoming my photography mentor in my early days (shoutout to Travis Williams for being an awesome teacher)! He taught me all about manual mode and I was able to shadow him at many photo shoots. This was invaluable for my growth in photography!
3 - Practice, practice, practice
This is the most important step! You'll never get better until you practice. Just get out and shoot, daily if you can. This is how you'll discover your style, what you like to shoot, and of course get better at using your camera. You should practice so much that using your camera becomes muscle memory, and adjusting the settings becomes second nature.
If you're interested in portrait photography, you need subjects to shoot! Ask friends and family to model for you. Offer free portraits in exchange for their time, and get their honest feedback on your pictures. Try different poses, or maybe some candid shots. Bring your camera to events or go for a road trip and look for different backgrounds. Whatever you do, just practice!
4 - Find a mentor
As I mentioned before, one of the biggest ways I grew as a new photographer was by having a mentor. At the time I started out, I already knew a professional photographer in my area. When he hosted a workshop, I signed up, and then I began assisting him on shoots. I would carry gear, hold the reflector, and set up lighting, but most importantly I was getting an inside look at how a professional photographer ran his photo sessions.
Another way I grew as a photographer was by collaborating with other photographer friends who were at my level. I would second shoot for friends at events like weddings, which helped me rub shoulders with other professionals. This was a great way to see other photographers' styles and learn from them.
If you know anyone who is a photographer, reach out and ask if you can shadow or assist them! Let them know you're interested in learning more about photography and see if they are open to teaching or mentoring you. Be willing to let them critique your work and take their feedback to heart. This will boost your skills more than anything else.
5 - Invest in editing software
Last but not least: if you want to take photography seriously and potentially go professional, you need a good editing software. Every photographer has a style or look to their images, and this is acheived not only through the camera but also in post processing. Your editing style is like your signature, and this is the biggest way to make your work stand out among the rest.
The industry standard editing software for photographers is Adobe Lightroom. It's definitely an investment and takes some time to learn, but it is well worth it for what you can do with it. I pay for the monthly Adobe subscription that's meant specifically for photographers, and it includes Lightroom, Photoshop, and a few other programs at a bundled rate.
I've been using Lightroom for forever (since 2011), and it's always met my needs. I'm sure there are now more options out there that have similar features, and potentially for a lower cost or even free. There are even AI editing softwares you can look into (which tbh scares me but that's just me...). Research the best option for you, but make sure you have a way to process, sharpen, and touch up your images before posting them or delivering them to clients!
And with that, you're well on your way to becoming a photographer in no time. Leave a comment with any specific photography questions that I can answer in a future post!